Drug testing kits' instructions
● How to use Single-Use Testing Kit?
A POSITIVE OR NEGATIVE TEST RESULT DOES NOT INDICATE WHETHER THE SUBSTANCE IS SAFE. NO SUBSTANCE IS 100% SAFE.
SINGLE-USE TEST INSTRUCTIONS
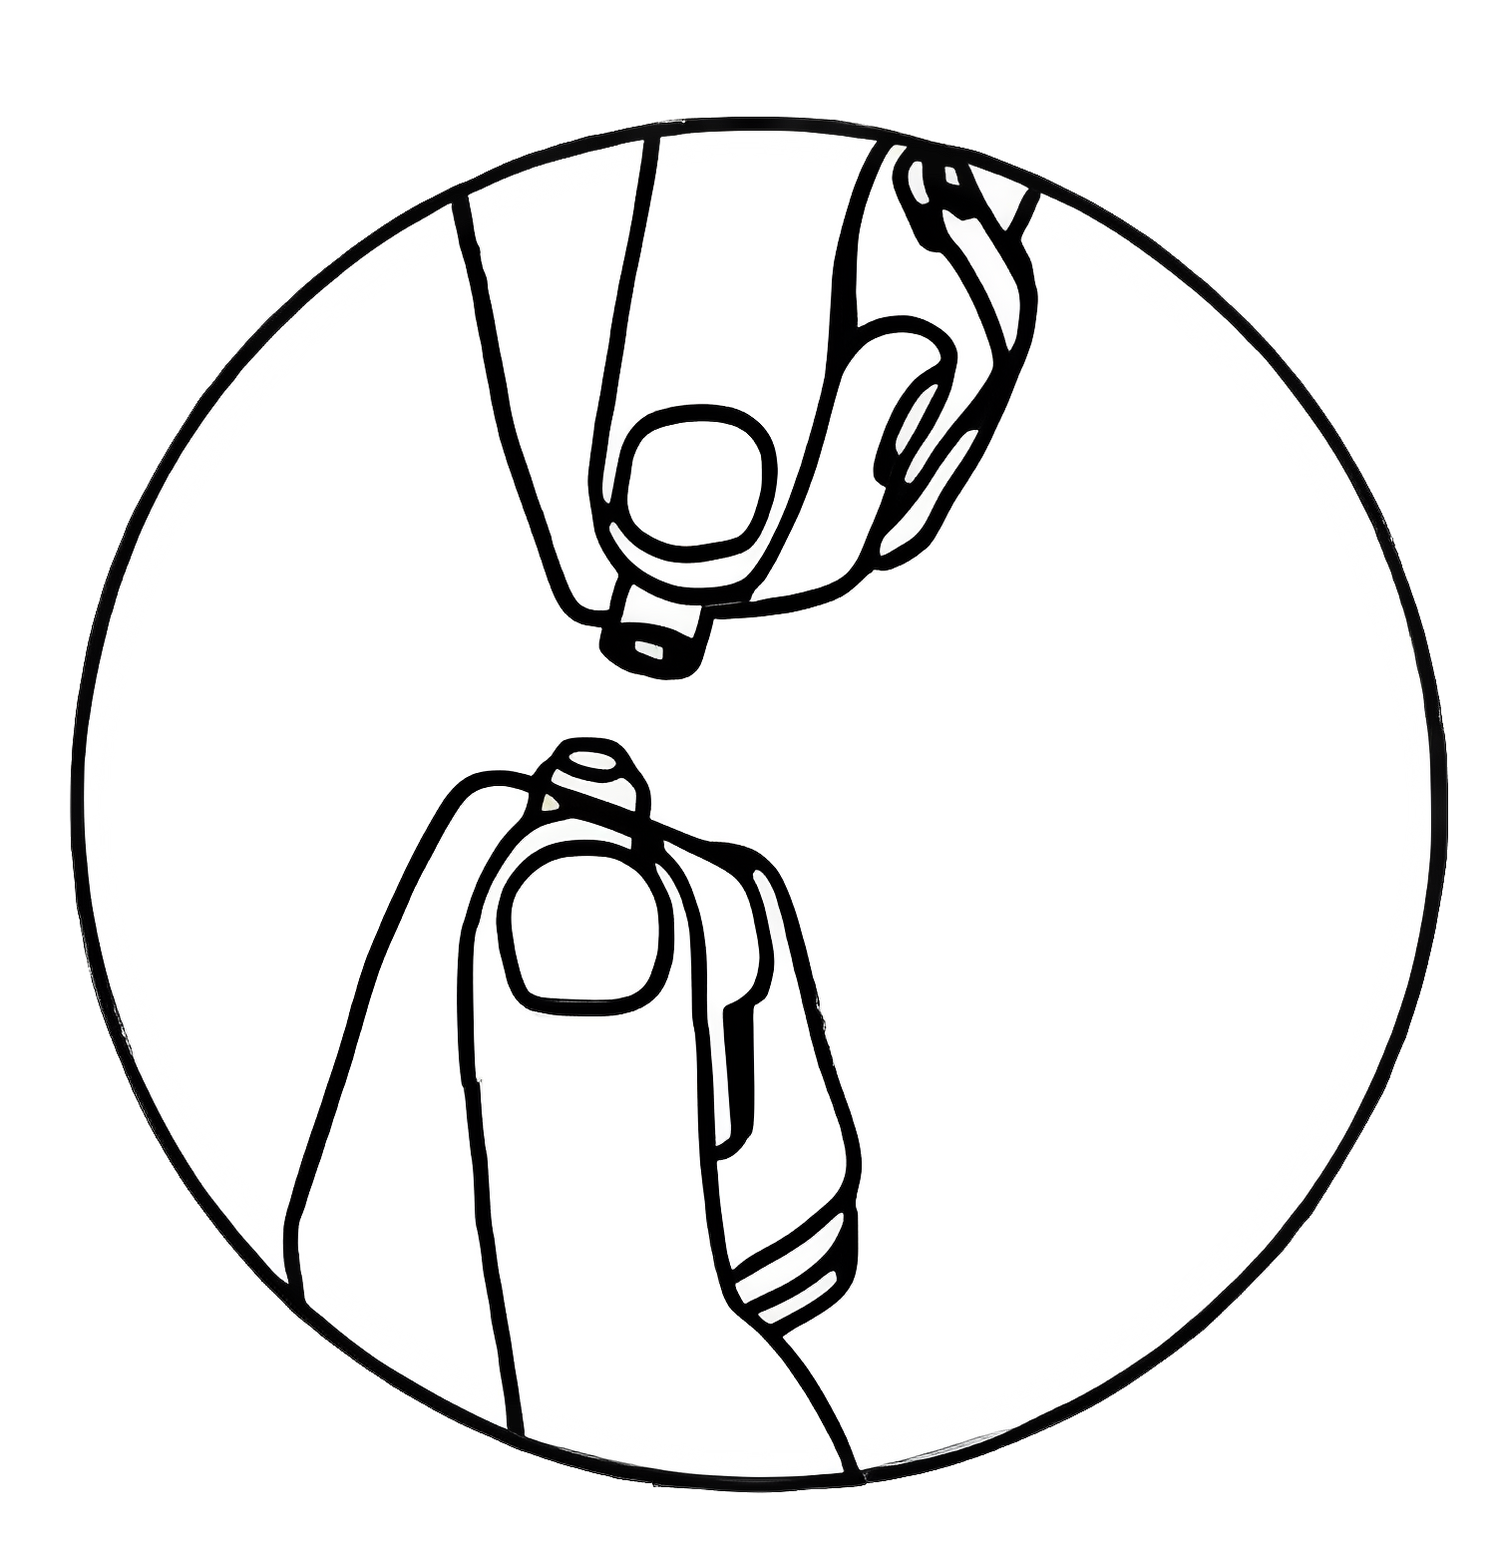
1. Gently break the ampoule(s)
Open the glass ampoule(s) by gently pushing the plastic cap down with your thumb. After a few gentle pushes, the head of the ampoule will pop open easily. Be careful not to crush the glass ampoule.
SINGLE-USE TEST INSTRUCTIONS
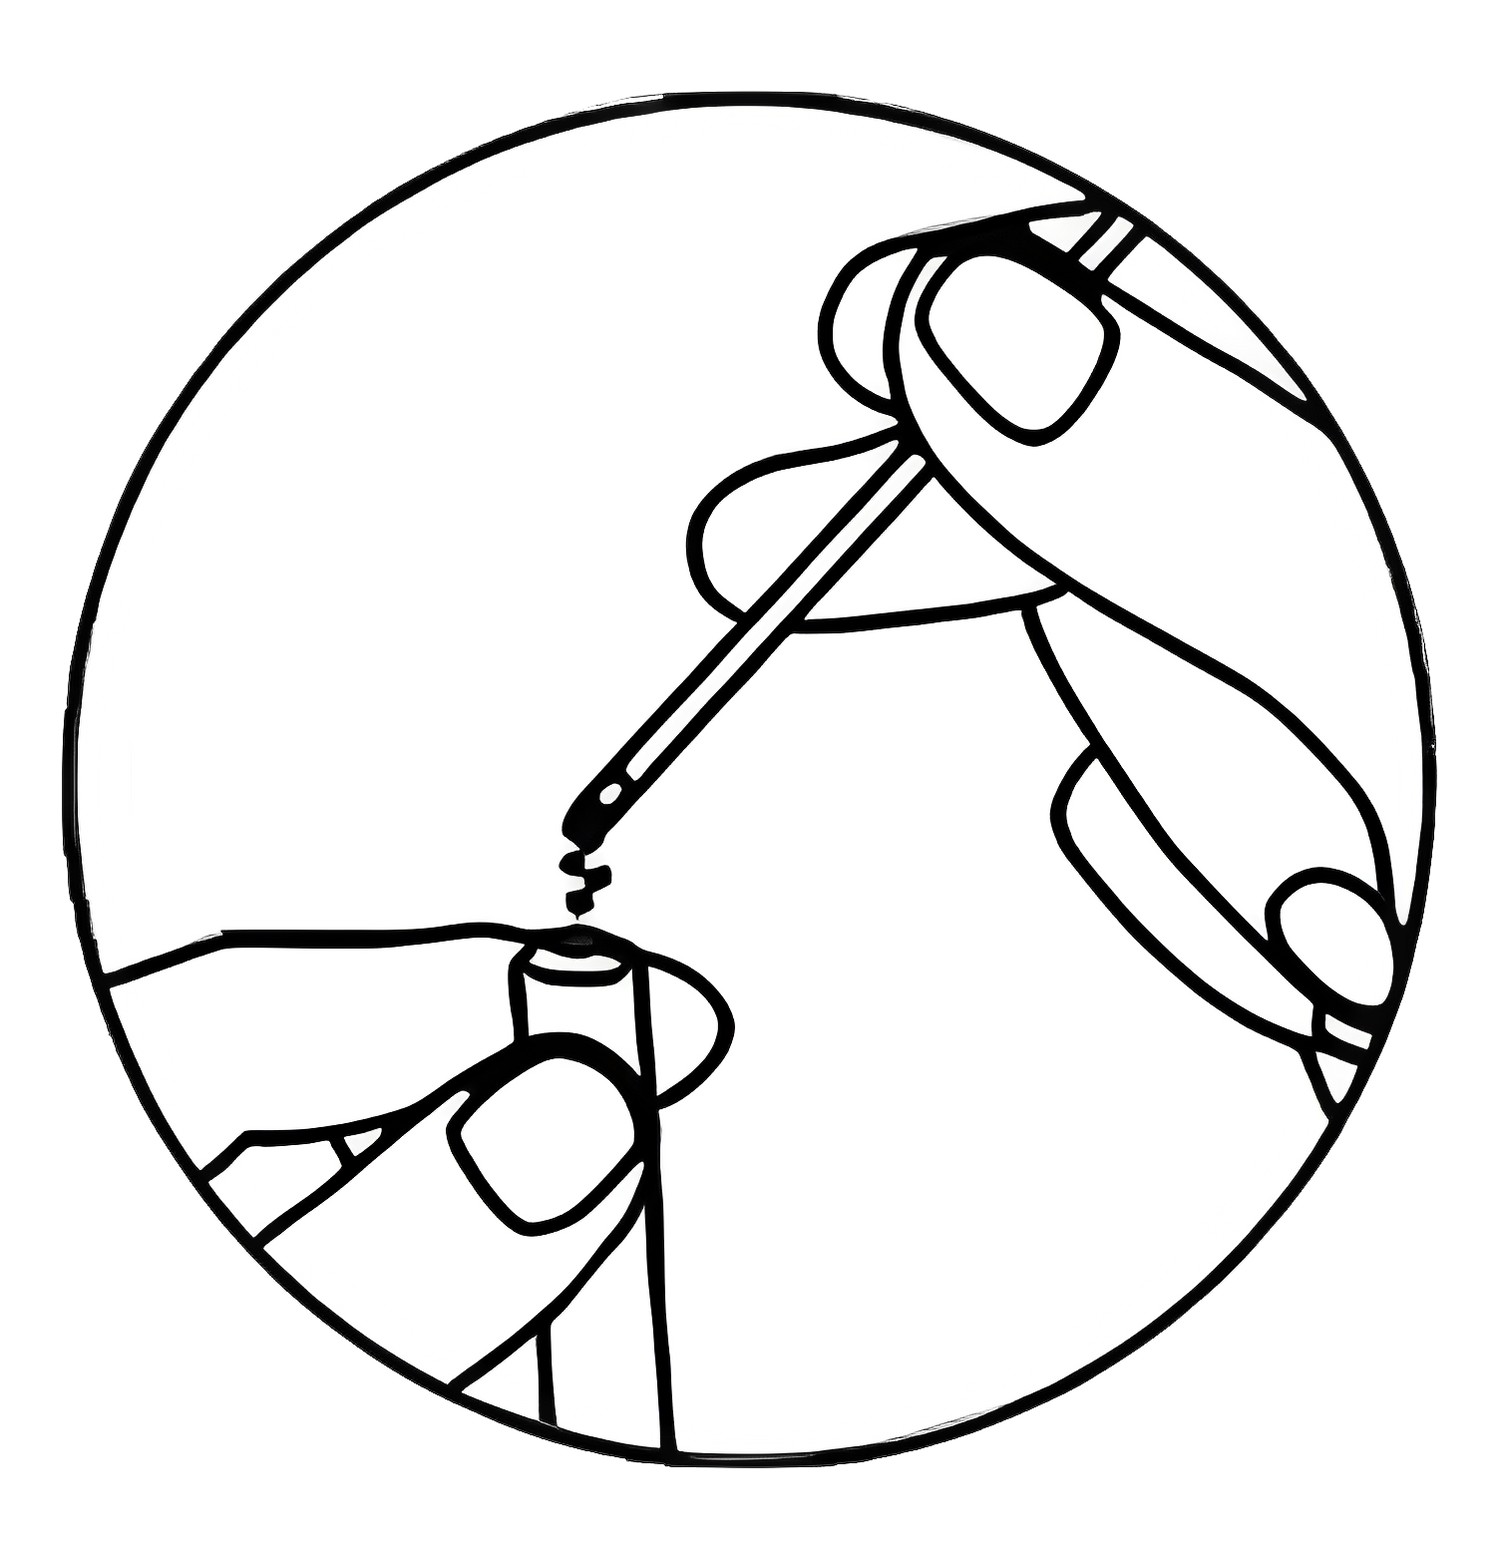
2. Insert sample
Using a plastic spatula, place the prepared small sample (approximately the size of ●) into the open test tube. Pour the liquid from two/one (depending on the test) glass ampoules into the tube and stir for at least 30 seconds.
SINGLE-USE TEST INSTRUCTIONS
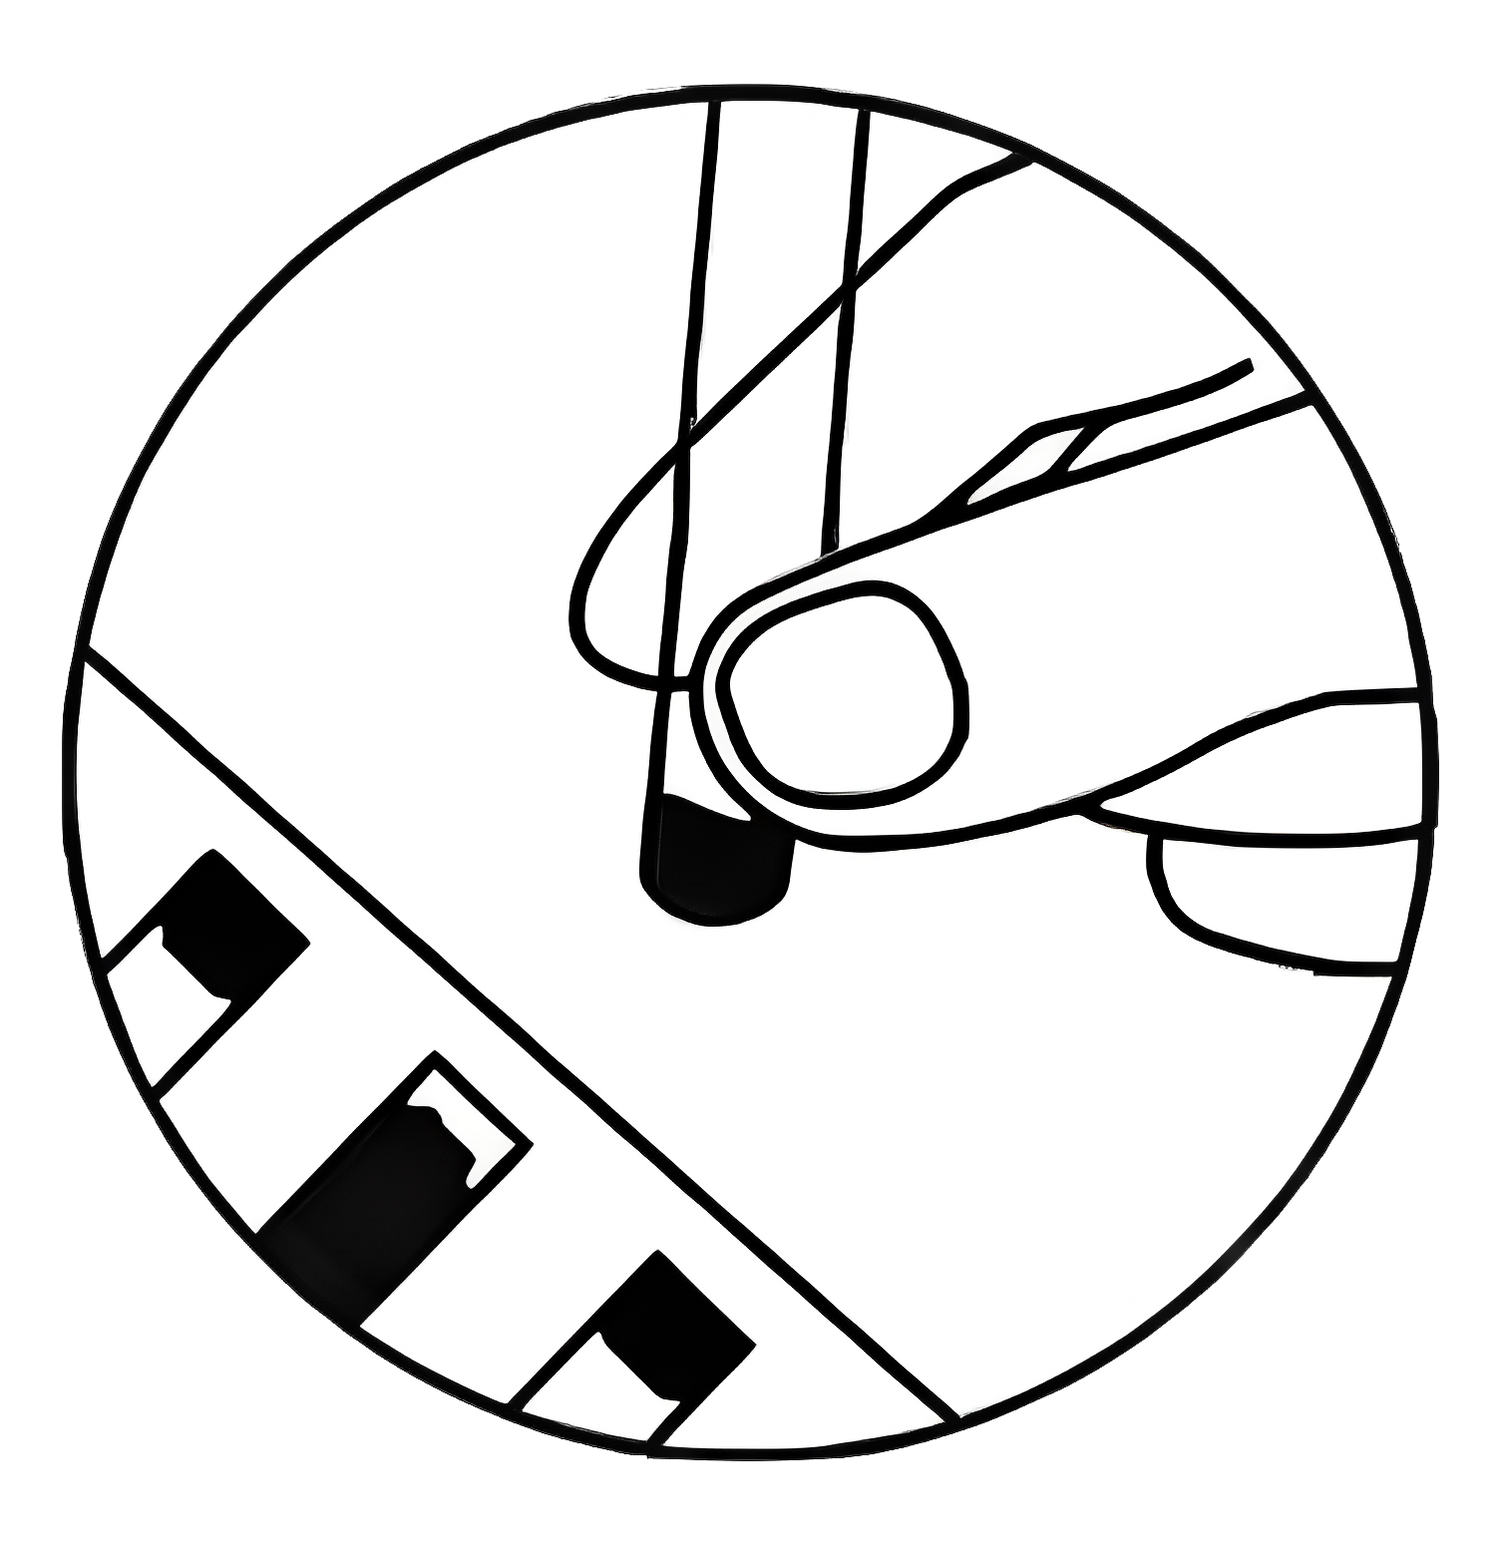
3. Check the results
Observe the result after 3 minutes. Note that the colour change reaction is always fastest and most pronounced in the part of the sample where the test sample is in contact with the reagent. Take a picture of the result and compare it with the colour palette given in the instructions. Over time the reaction deteriorates due to contact with air and may not be accurate, so ignore colour changes after more than 5 minutes.
SINGLE-USE TEST INSTRUCTIONS
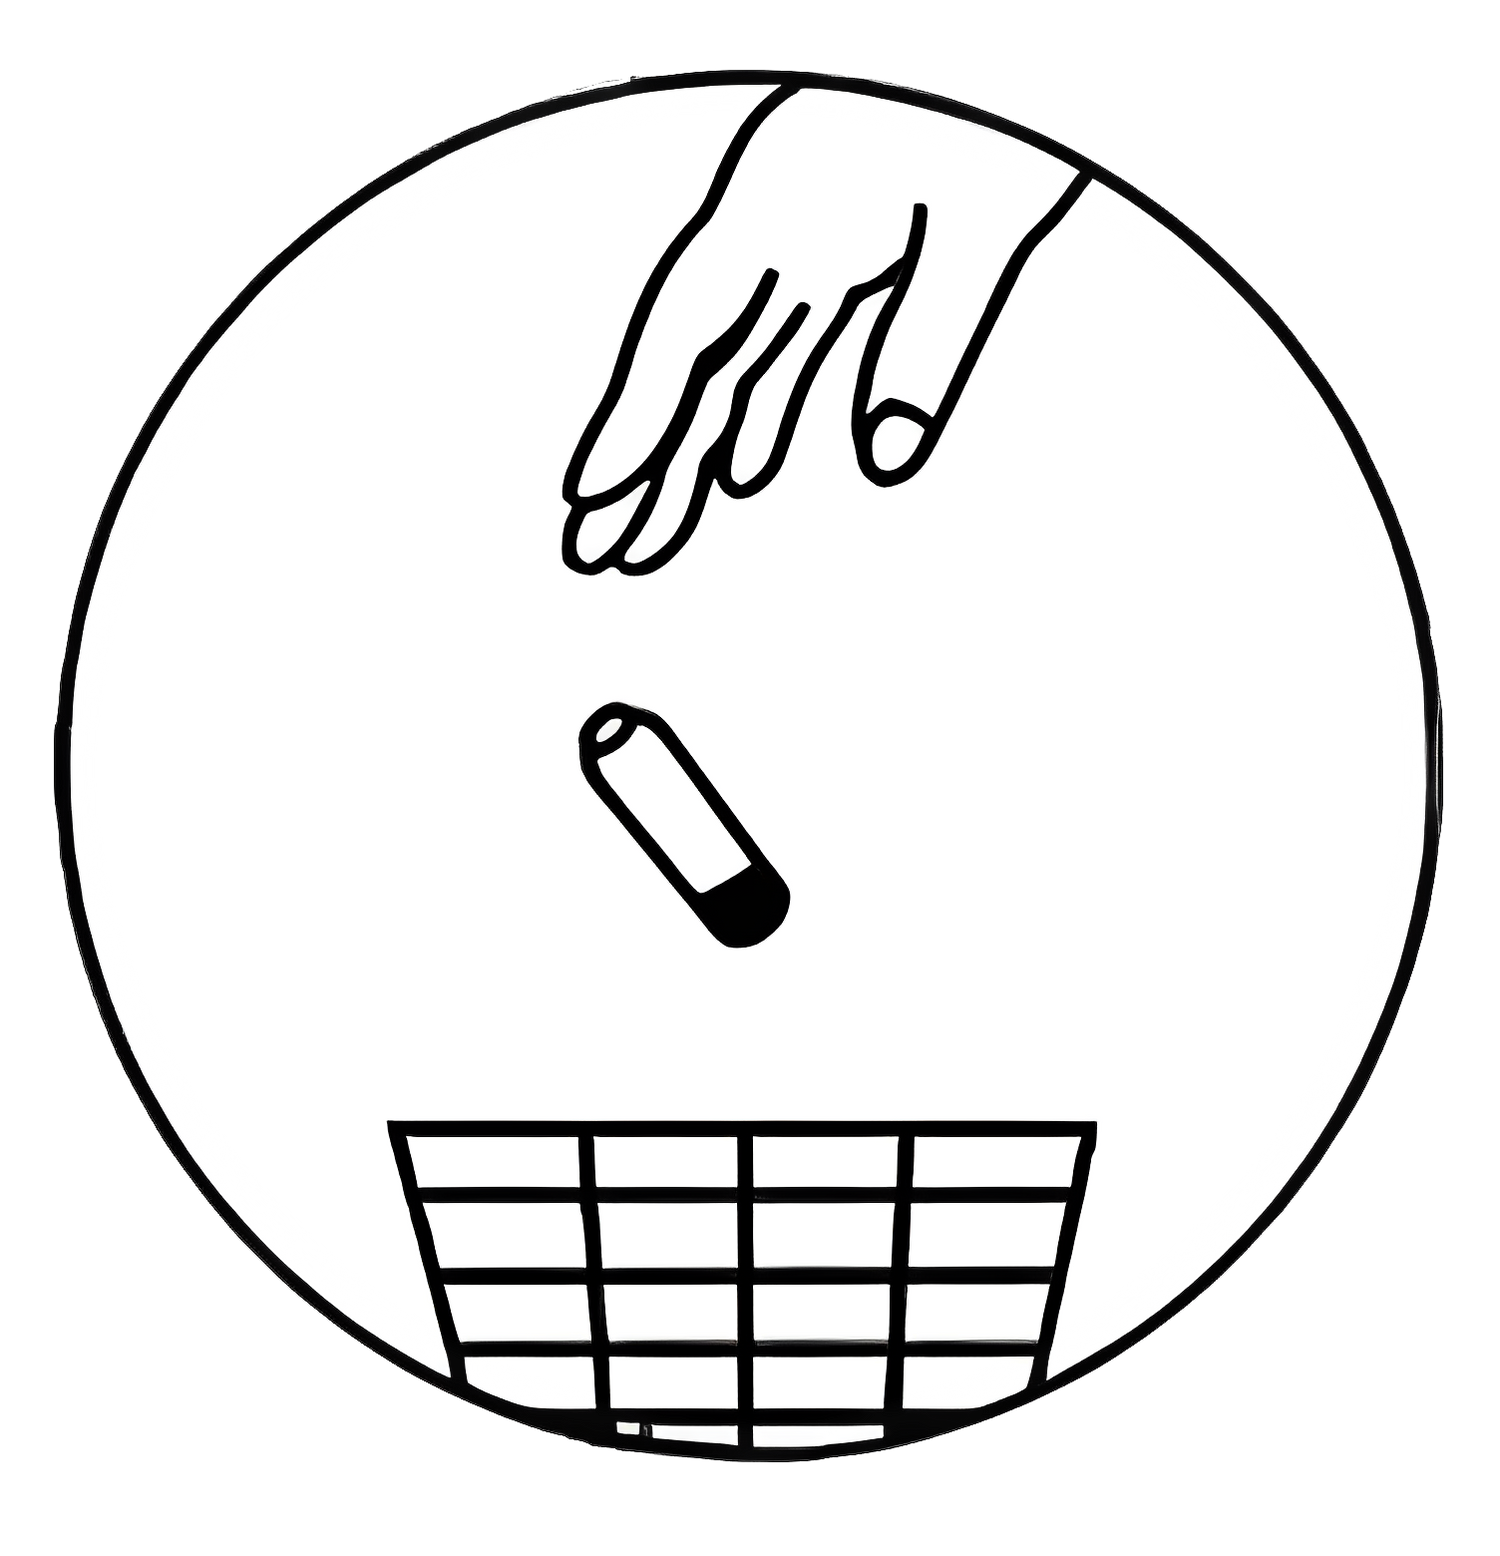
4. Dispose safely
Close used items inside plastic tube and dispose safely.
● How to use Multiple-Use Testing Kit?
MULTIPLE-USE TEST INSTRUCTIONS
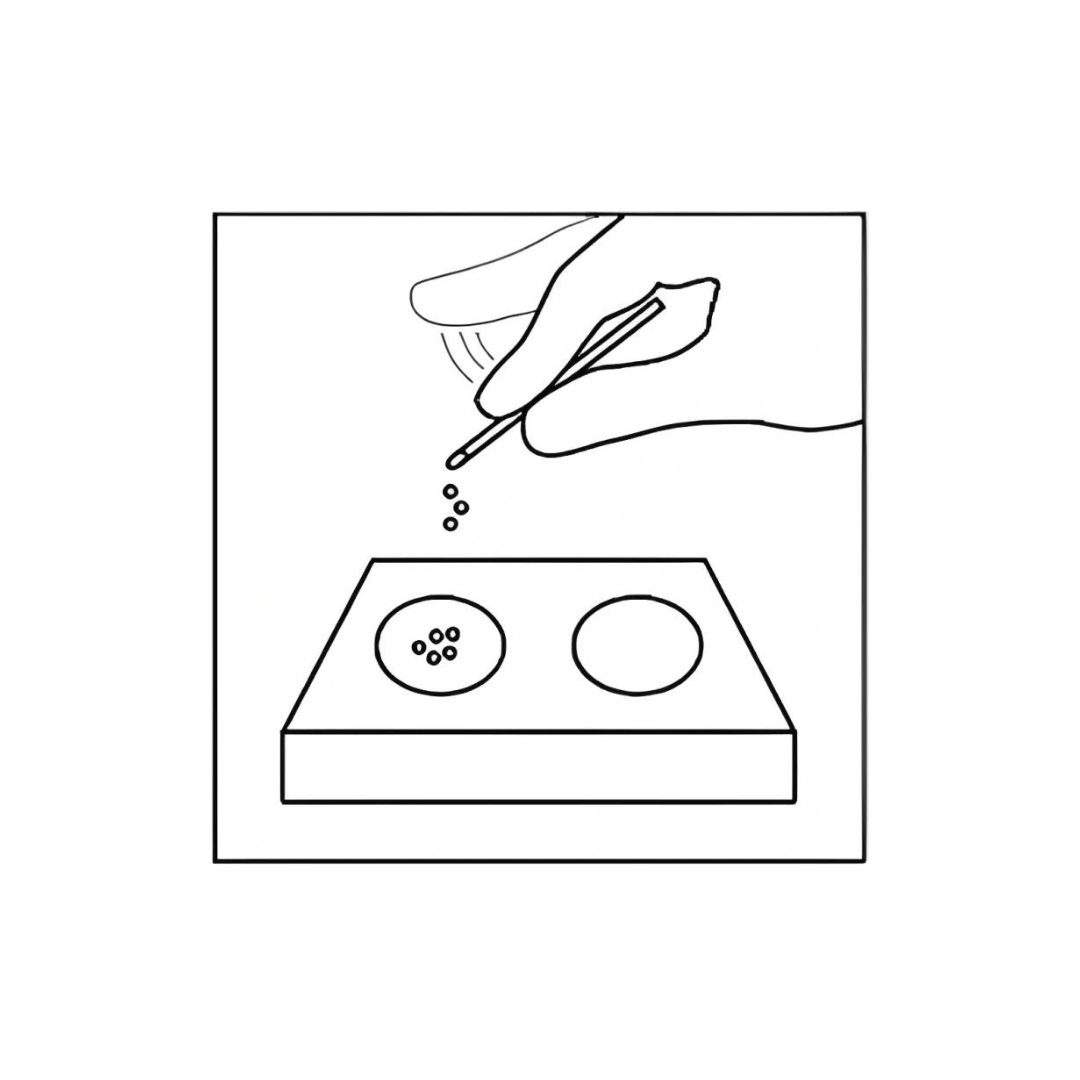
1. Insert sample
If you are testing a pill, powder or crystals, crush them as well as possible. If you are testing a blotter, cut off 1/8 (corner). If you are testing a liquid, put one drop on a paper or clean ceramic surface. With a plastic spatula, place a prepared small sample (the size of a match head) on the test surface (porcelain plate).
*Keep in mind that a larger sample may cause a stronger reaction.
*A new sample is needed for each test.
MULTIPLE-USE TEST INSTRUCTIONS
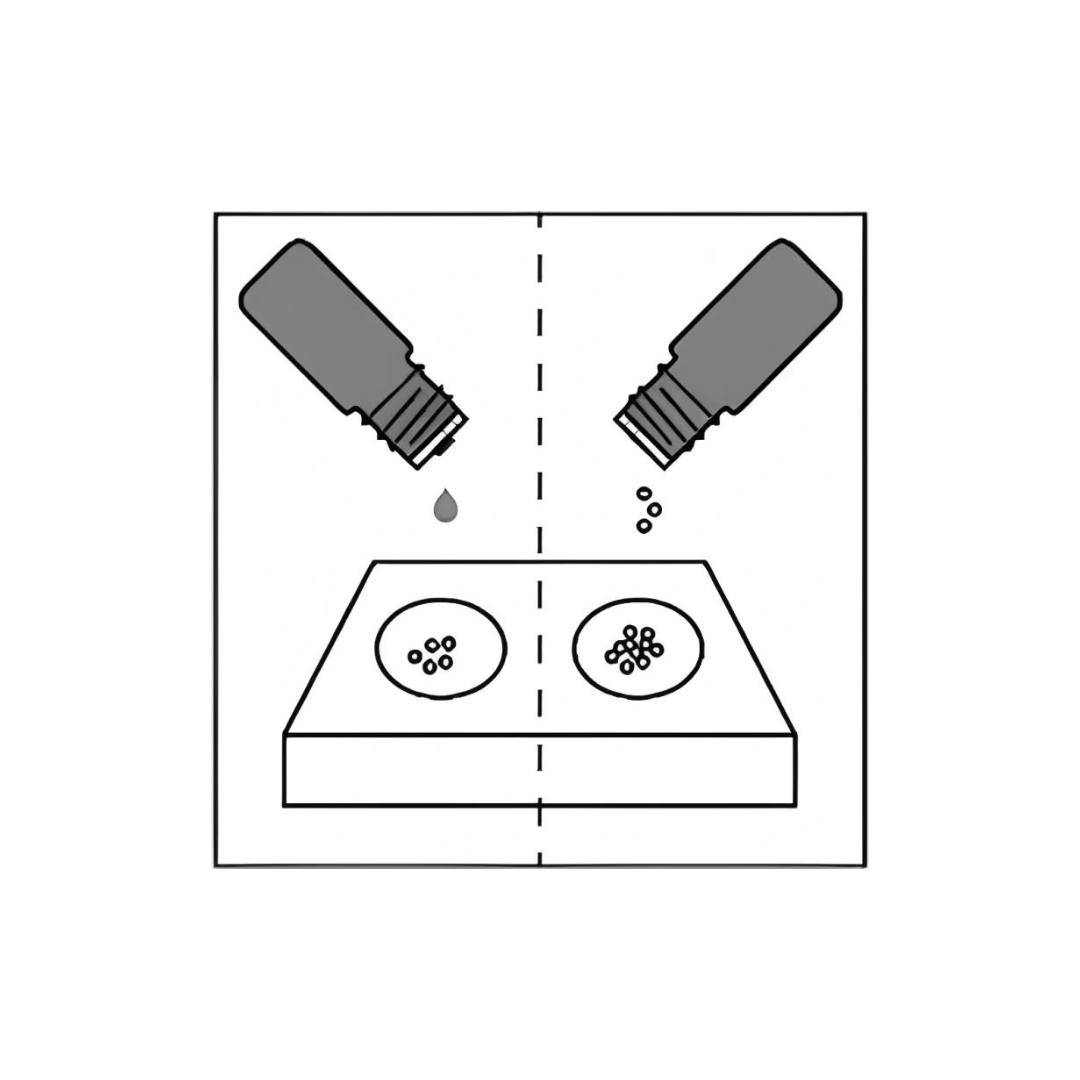
2. Add reagent(s)
Shake the reagent vial vigorously before testing, then tap vigorously to dislodge any reagent stuck in the cap. Do not touch the sample with the vial or you will damage the remaining reagent. Use only enough reagent to cover the sample. Add one (or more) drop(s) of reagent.
*Do not mix reagents, except for vials "A" and "B".
MULTIPLE-USE TEST INSTRUCTIONS
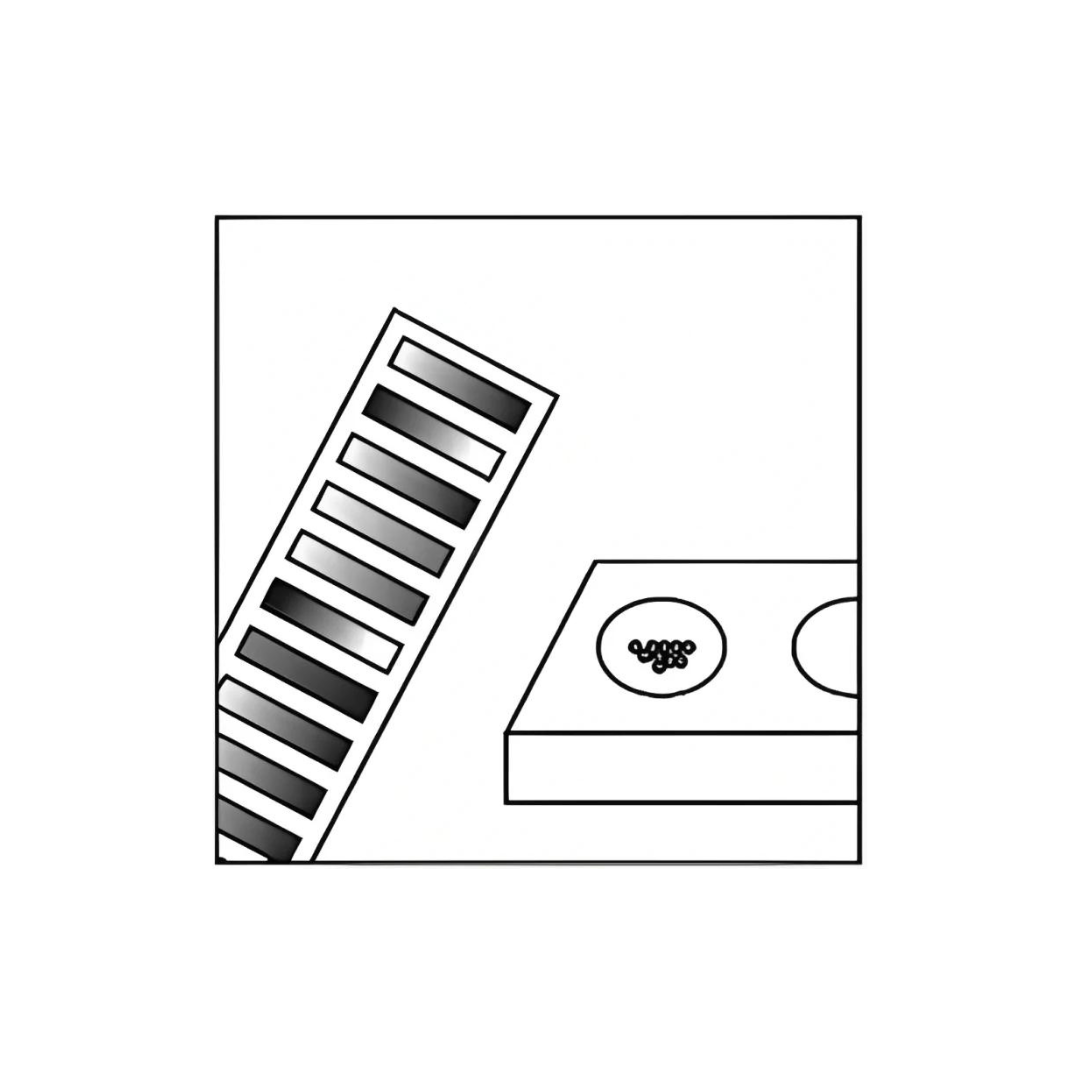
3. Check the result
Compare the colour change with the colour palette in the attached instructions. Over time, the response deteriorates due to exposure to air and may not be accurate, so disregard any colour changes after 2 minutes. Note that the colour change reaction is always fastest and most pronounced in the part of the test sample in contact with the reagent. Do not forget to take a picture of the result and compare it with the colour palette given in the instructions.
*If you are testing the blotter with Ehrlich or Hofmann reagents, observe the reaction for up to 60 minutes.
MULTIPLE-USE TEST INSTRUCTIONS
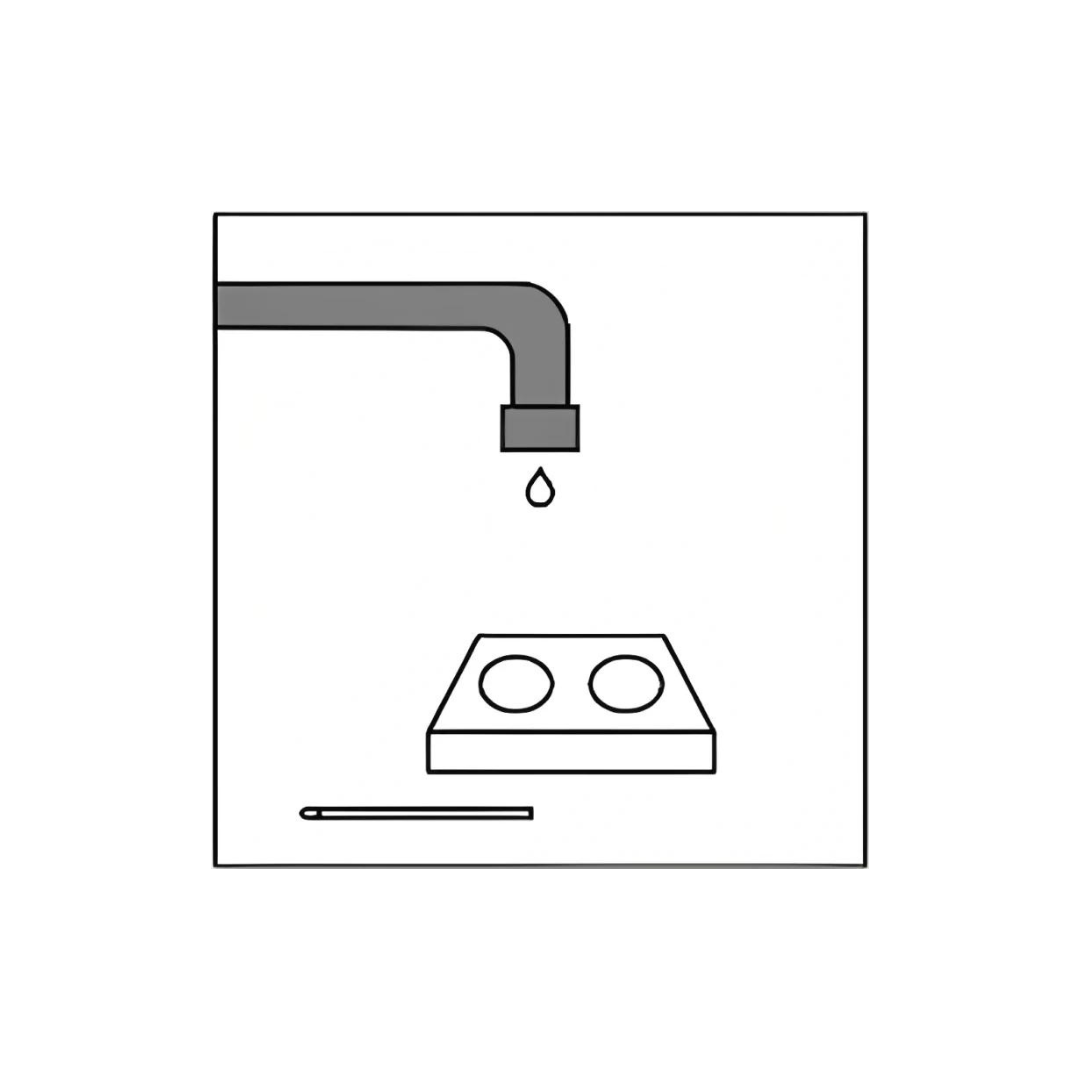
4. Rinse tools
Wash used test tools and the test surface (porcelain plate) with running water and detergent.
● How to use Purity (TLC) Testing Kit?
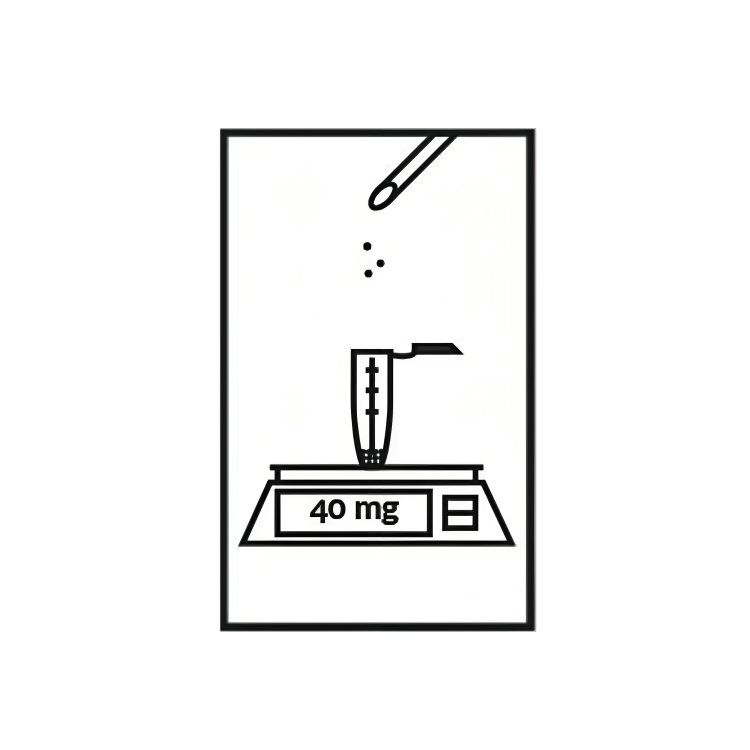
TLC TEST INSTRUCTIONS
1. Prepare testing tools and sample
First, prepare a clean and well-lit area for testing. Prepare the sample, spatula, gloves, plastic bottle, test liquid, pipette, pencil, glass tube, rolled up testing cards, jar and UV-C flashlight. Then, carefully holding the test 'card' by the top edges only, mark 4 points 1 cm apart from the bottom, sides and each other.
If testing a pill, powder or crystal, crush it finely. Weigh sample in a plastic vial and dissolve in testing liquid (or other solvent) using ratios mentioned in the booklet. Shake to dissolve. To big or too small sample can cause an inconclusive result.
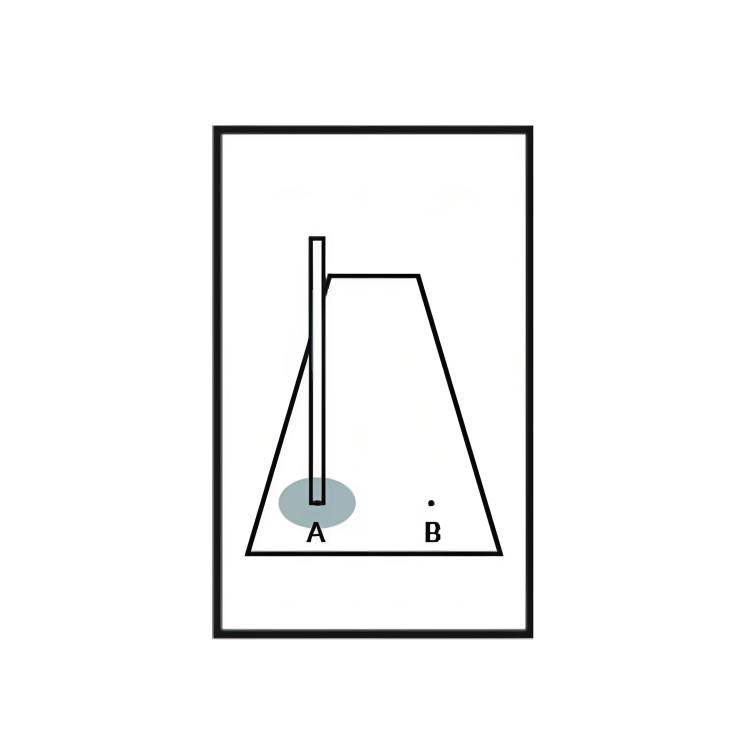
TLC TEST INSTRUCTIONS
2. Add 1 microliter to card
In case of sediment wait a minute for it to fall down. Under strong light submerge end of glass tube to fill it with dissolved sample. Gently touch one of the marked dots on Testing Card to discharge sample and mark the spot with pencil.
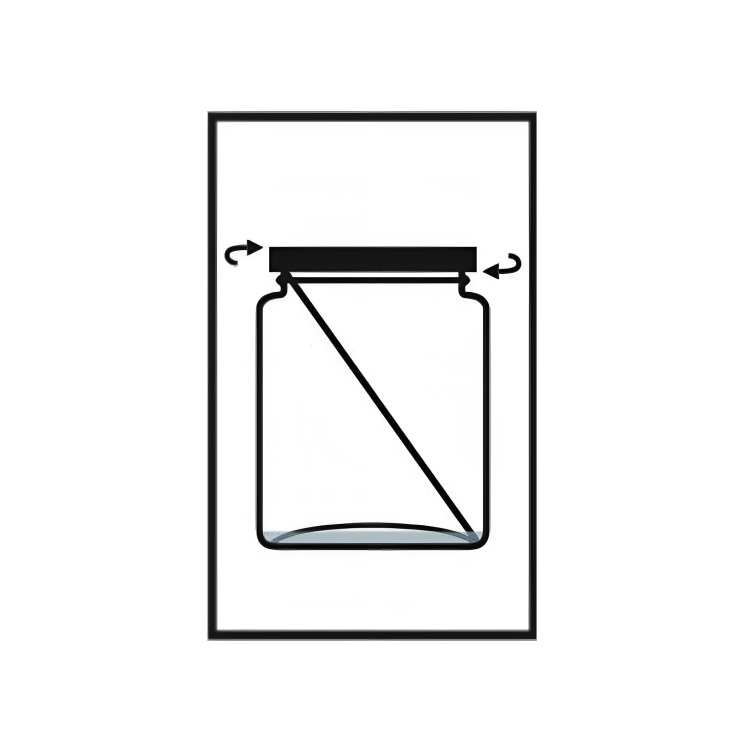
TLC TEST INSTRUCTIONS
3. Insert card into jar
Add 2 ml of testing liquid inside jar and carefully, paying attention to not touch the white side of Testing Card with sample, insert it inside jar. Close the jar and observe for about 25 minutes, until Testing Card almost fully soaks – but not any longer. Remove Testing Card from jar, wait for it to dry.
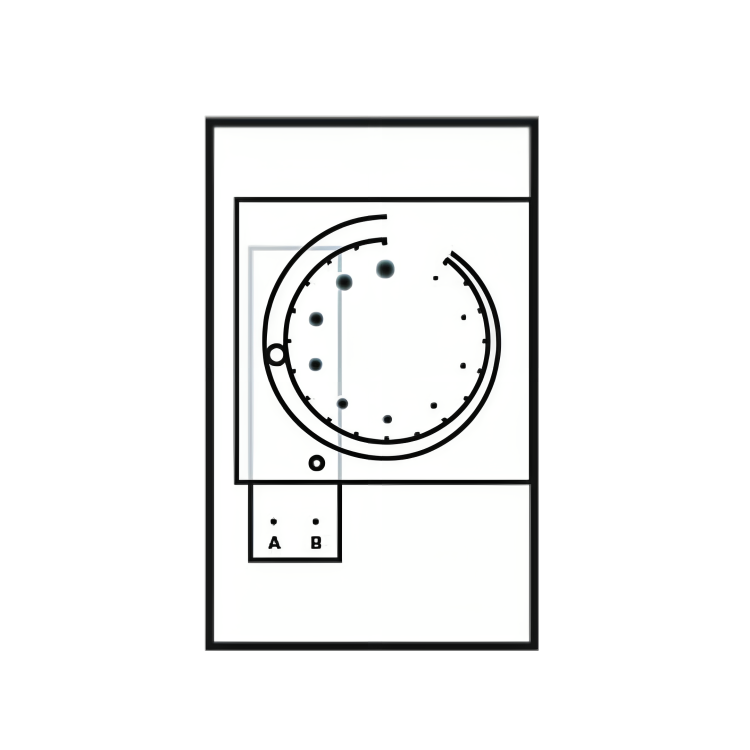
TLC TEST INSTRUCTIONS
4. Compare results
Use UV-C flashlight to reveal results. Spots on Testing Card revealed by UV-C light circle using pencil. Each spot indicates a separate substance. TLC purity test kits can detect NUMBER and AMOUNT of substances, but not their TYPE. Pair TLC test kit with reagent test kit to indentify ingredients. Reagents alone detect mixtures only if adulterant causes a darker color change than the expected substance.
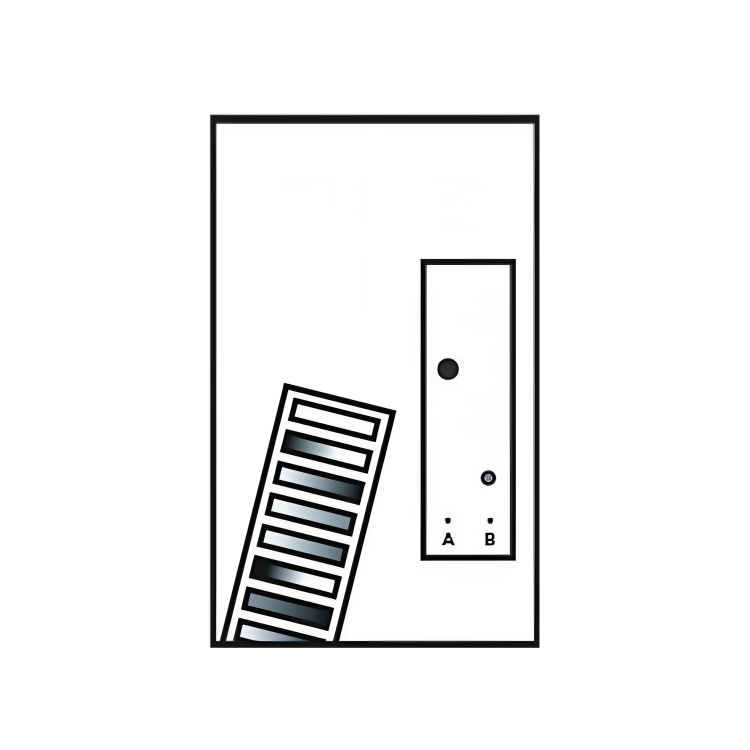
TLC TEST INSTRUCTIONS
5. Compare results
● How to use Fentanyl Test Strip?
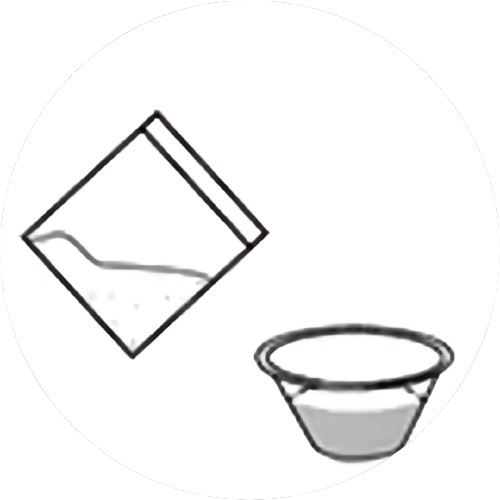
FENTANYL TEST STRIP INSTRUCTIONS
1. Mix 100 mg of sample in 200 ml of tap water
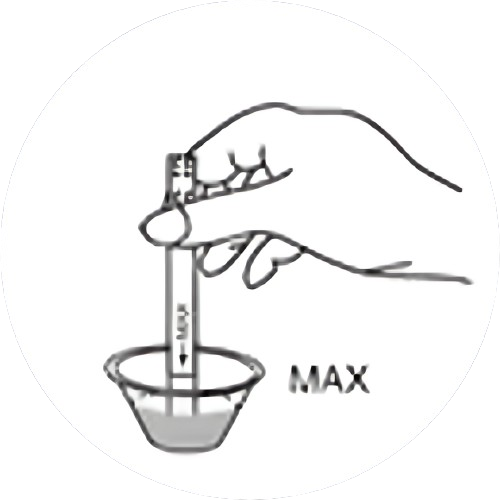
FENTANYL TEST STRIP INSTRUCTIONS
2. Dip no higher than thick line until liquid comes up (15 sec)
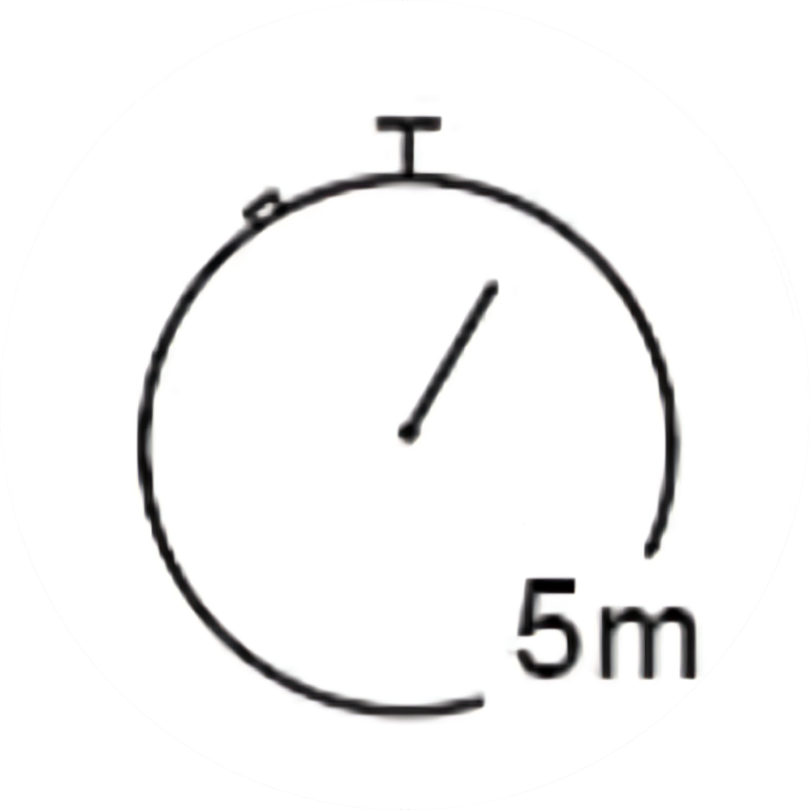
FENTANYL TEST STRIP INSTRUCTIONS
3. Lay the strip flat, wait 3-5 minutes
FENTANYL TEST STRIP INSTRUCTIONS
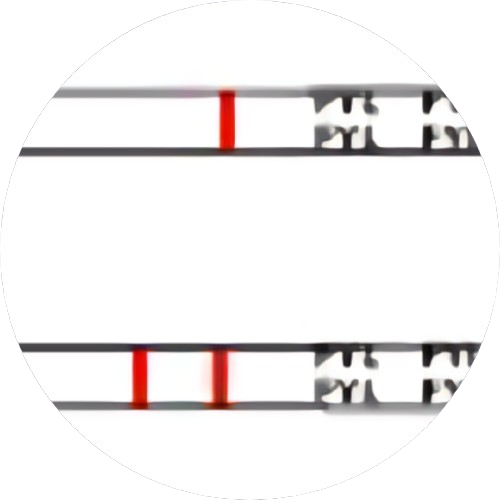
4. One top line = FENTANYL, Two lines (even faint) = NO FENTANYL
ADDITIONAL INFORMATION
HOW TO INTERPRET TEST RESULTS?
Compare the colour change with the instructions in the test kit, which can be found in the enclosed instructions. Reagent tests can show whether a substance is present in a sample, but not its PURITY or QUANTITY.
WHAT IS THE SHELF LIFE OF THE TESTS/REAGENTS?
All test kits use the highest quality materials: special chemical-resistant plastics, heat-resistant glass and stainless steel. Due to the specific nature of the materials used, a shelf life of at least 1 year is guaranteed. Afterwards, the sensitivity of the reagents decreases and the test result may not be accurate.
WHAT ARE THE REQUIREMENTS FOR USING AND ADMINISTERING THE TESTS?
Psychoactive substance test kits contain toxic and/or corrosive chemicals that can burn skin and clothing.
Keep away from eyes or mouth;
Keep away from children and animals;
Always use in a well-ventilated area;
Wear gloves and safety goggles;
Never point at face or other parts of body. If test materials get on skin and/or clothing, wash immediately with plenty of water and soap;
Store reagents in a cool and dark place;
The accuracy of reagents will deteriorate over time or due to exposure to air, especially if exposed to sunlight or if stored outside the refrigerator. If you are in doubt about the accuracy of a reagent, test it on a sample that has already been validated.
